Apache Airflow Tutorial – Part 3 Start Building
Mar 15, 2019
Overview
If you've read this far you should have a reasonable understanding of the Apache Airflow layout and be up and running with your own docker dev environment. Well done! This part in the series will cover building an actual simple pipeline in Airflow.
Start building by getting the source code!
Build a Simple DAG
The simplest DAG is simply having a list of tasks, where each task depends upon its previous task. If you've spun up the airflow instance and taken a look, it looks like this:

Now, if you're asking why I would choose making an ice cream sundae as my DAG, you may need to reevaluate your priorities.
Generally, if you order ice cream, the lovely deliverer of the ice cream will first as you what kind of cone (or cup, you heathen) you want, then your flavor (or flavors!), what toppings, and then will put them all together into sweet, creamy, cold, deliciousness.
You would accomplish this awesomeness with the following Airflow code:
Now, you will notice none of these tasks actually does anything. When I start any project I like to work in layers. First I lay out the task diagram in what I would consider to be a blueprint. Then I gradually start filling more and more in.
Build My Sundae!
Now, you may notice I have quite a nice dictionary of sundae choices that isn't used so far. What we want to do is to have each task randomly make a choice from its corresponding list, and dazzle our customers with a surprise sundae.
Push and pull information between tasks
We have an obstacle. Each task instance runs in its own isolated process. You cannot simply return a value from a function and carry on as you would with regular Python code. Instead, you must use the airflow xcom functionality.
Push
For example we would choose a cone and then 'remember' it by using the xcom push functionality. The kwargs is a set of arguments Airflow passes to our task instance. What we want is the actual task instance, because that is where the xcom functionality lives.
Pull
Later, when it's time to actually make the sundae, we pull the cone value by the task_id and key we assigned. Please note that the value can be anything that can be serialized in python, including numpy arrays and pandas dataframes.
Investigate the DAG in the Airflow UI
If you followed the part 2 in the series you should have your docker dev environment up and running. If you haven’t get the project template by clicking here and unzipping the source code bundle.
Open up http://localhost:8089/admin/ and take a look!

You will see a listing of the DAGs. Notice in the second column that mine are all 'On', but you can flip that toggle to turn them 'Off'.
Why isn't my DAG Running?
Or: Why does it show up in gray instead of a URL?
Tip 1: Patience, grasshopper. Let Airflow do its thing and go through its update and QC cycles. Give it a minute and refresh the page.
Tip 2: If you've triggered your DAG either externally or through the UI using the play button, and it isn't running, ensure that the toggle is flipped to 'On' in the main Airflow Admin interface.
Tip 3: Another tip is to ensure there are no errors. Most errors will come through directly on the admin interface, but you may need to refresh the page a few times.
Tip 4: If your task STILL isn't running, and you're really stumped, check out the scheduler logs.
docker-compose logs --tail 50 airflow_scheduler
Trigger your DAG
Woo! Let's make airflow actually DO STUFF. There are a few different ways to trigger your DAG.
Use the Scheduler
You will notice in the default arguments of the DAG that there is a start date, and another interval date. This is set to None in the sundae shop, because we want to trigger it only when a customer comes for icecream, but this could be every day, week, every minute, etc, etc.
Through the Airflow API
In the last column under 'Links' you'll see that each DAG has a corresponding Play button. Go ahead and click it.
Through the REST API
This is BY FAR the most frequent way I trigger DAGs. I found this to be a bit tricky because there is a parameter called 'conf' that you pass in as a JSON string, and somehow I just COULD NOT get my head around that, but I'm going to show you how.
If you want to know I'm not a total dufus, or at least not most days. I was confused because I was already passing JSON, because that is the way the web works. So why would I need to jsonify my conf object? Well, you do, so deal with it.
This API has been marked as experimental and may change.
You can cut and paste this code into a python or ipython console, or run as a shell script.
Using the Airflow Command Line Interface
Airflow, because its awesome, also exposes a command line interface to trigger a DAG.

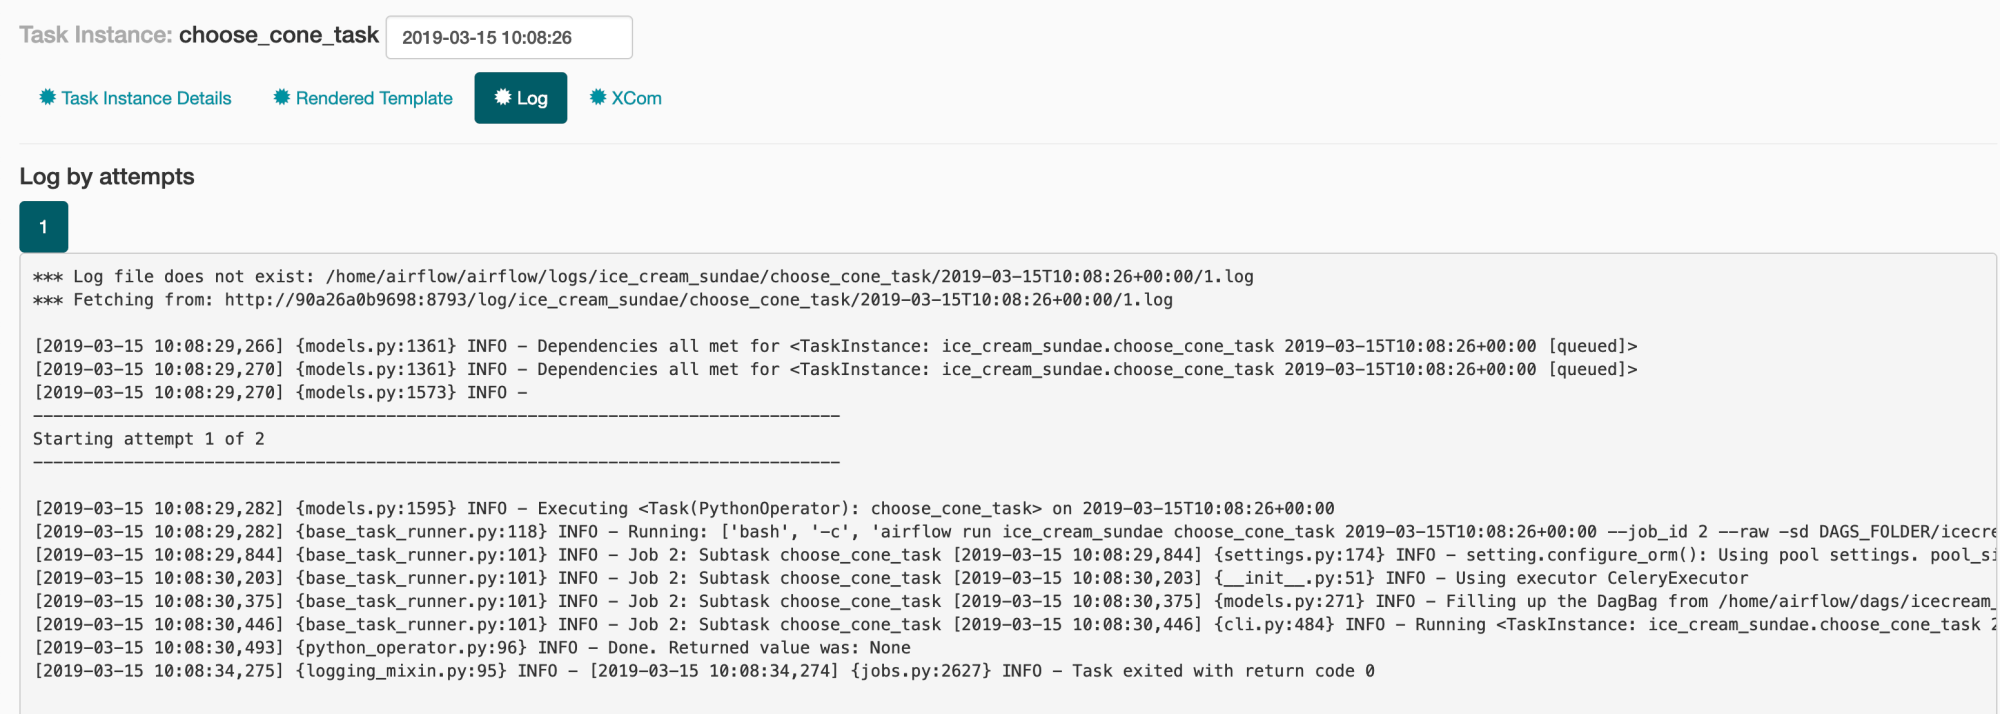
Here is where we see our directed graph. You can click on each task in order to get more information about the task, including a detailed log and any XCom communications.
Task Instance - Log

Task Instance - XCom

You can even see the XCom value we pushed.
Wrap Up
That's it for this part in the series. Next up I will cover common DAG Patterns I use.


